| Permissions | Assistant is available to all users and is personal |
| Related readings |
This feature is currently in beta. Some limitations apply and will be addressed in future releases.
This article explains how to use the assistant to create and refine Q&A and Extract Meta presets.
Create a preset
To create a preset with the assistant:
- Open the assistant.
- Select reference sources, if needed.
- Describe the preset you want to create. Include as much detail as possible, such as:
- Preset type (Q&A or Extract Meta)
- Objective
- Number of fields or questions
- Expected output types
- Any specific instructions or constraints
- Submit your request.
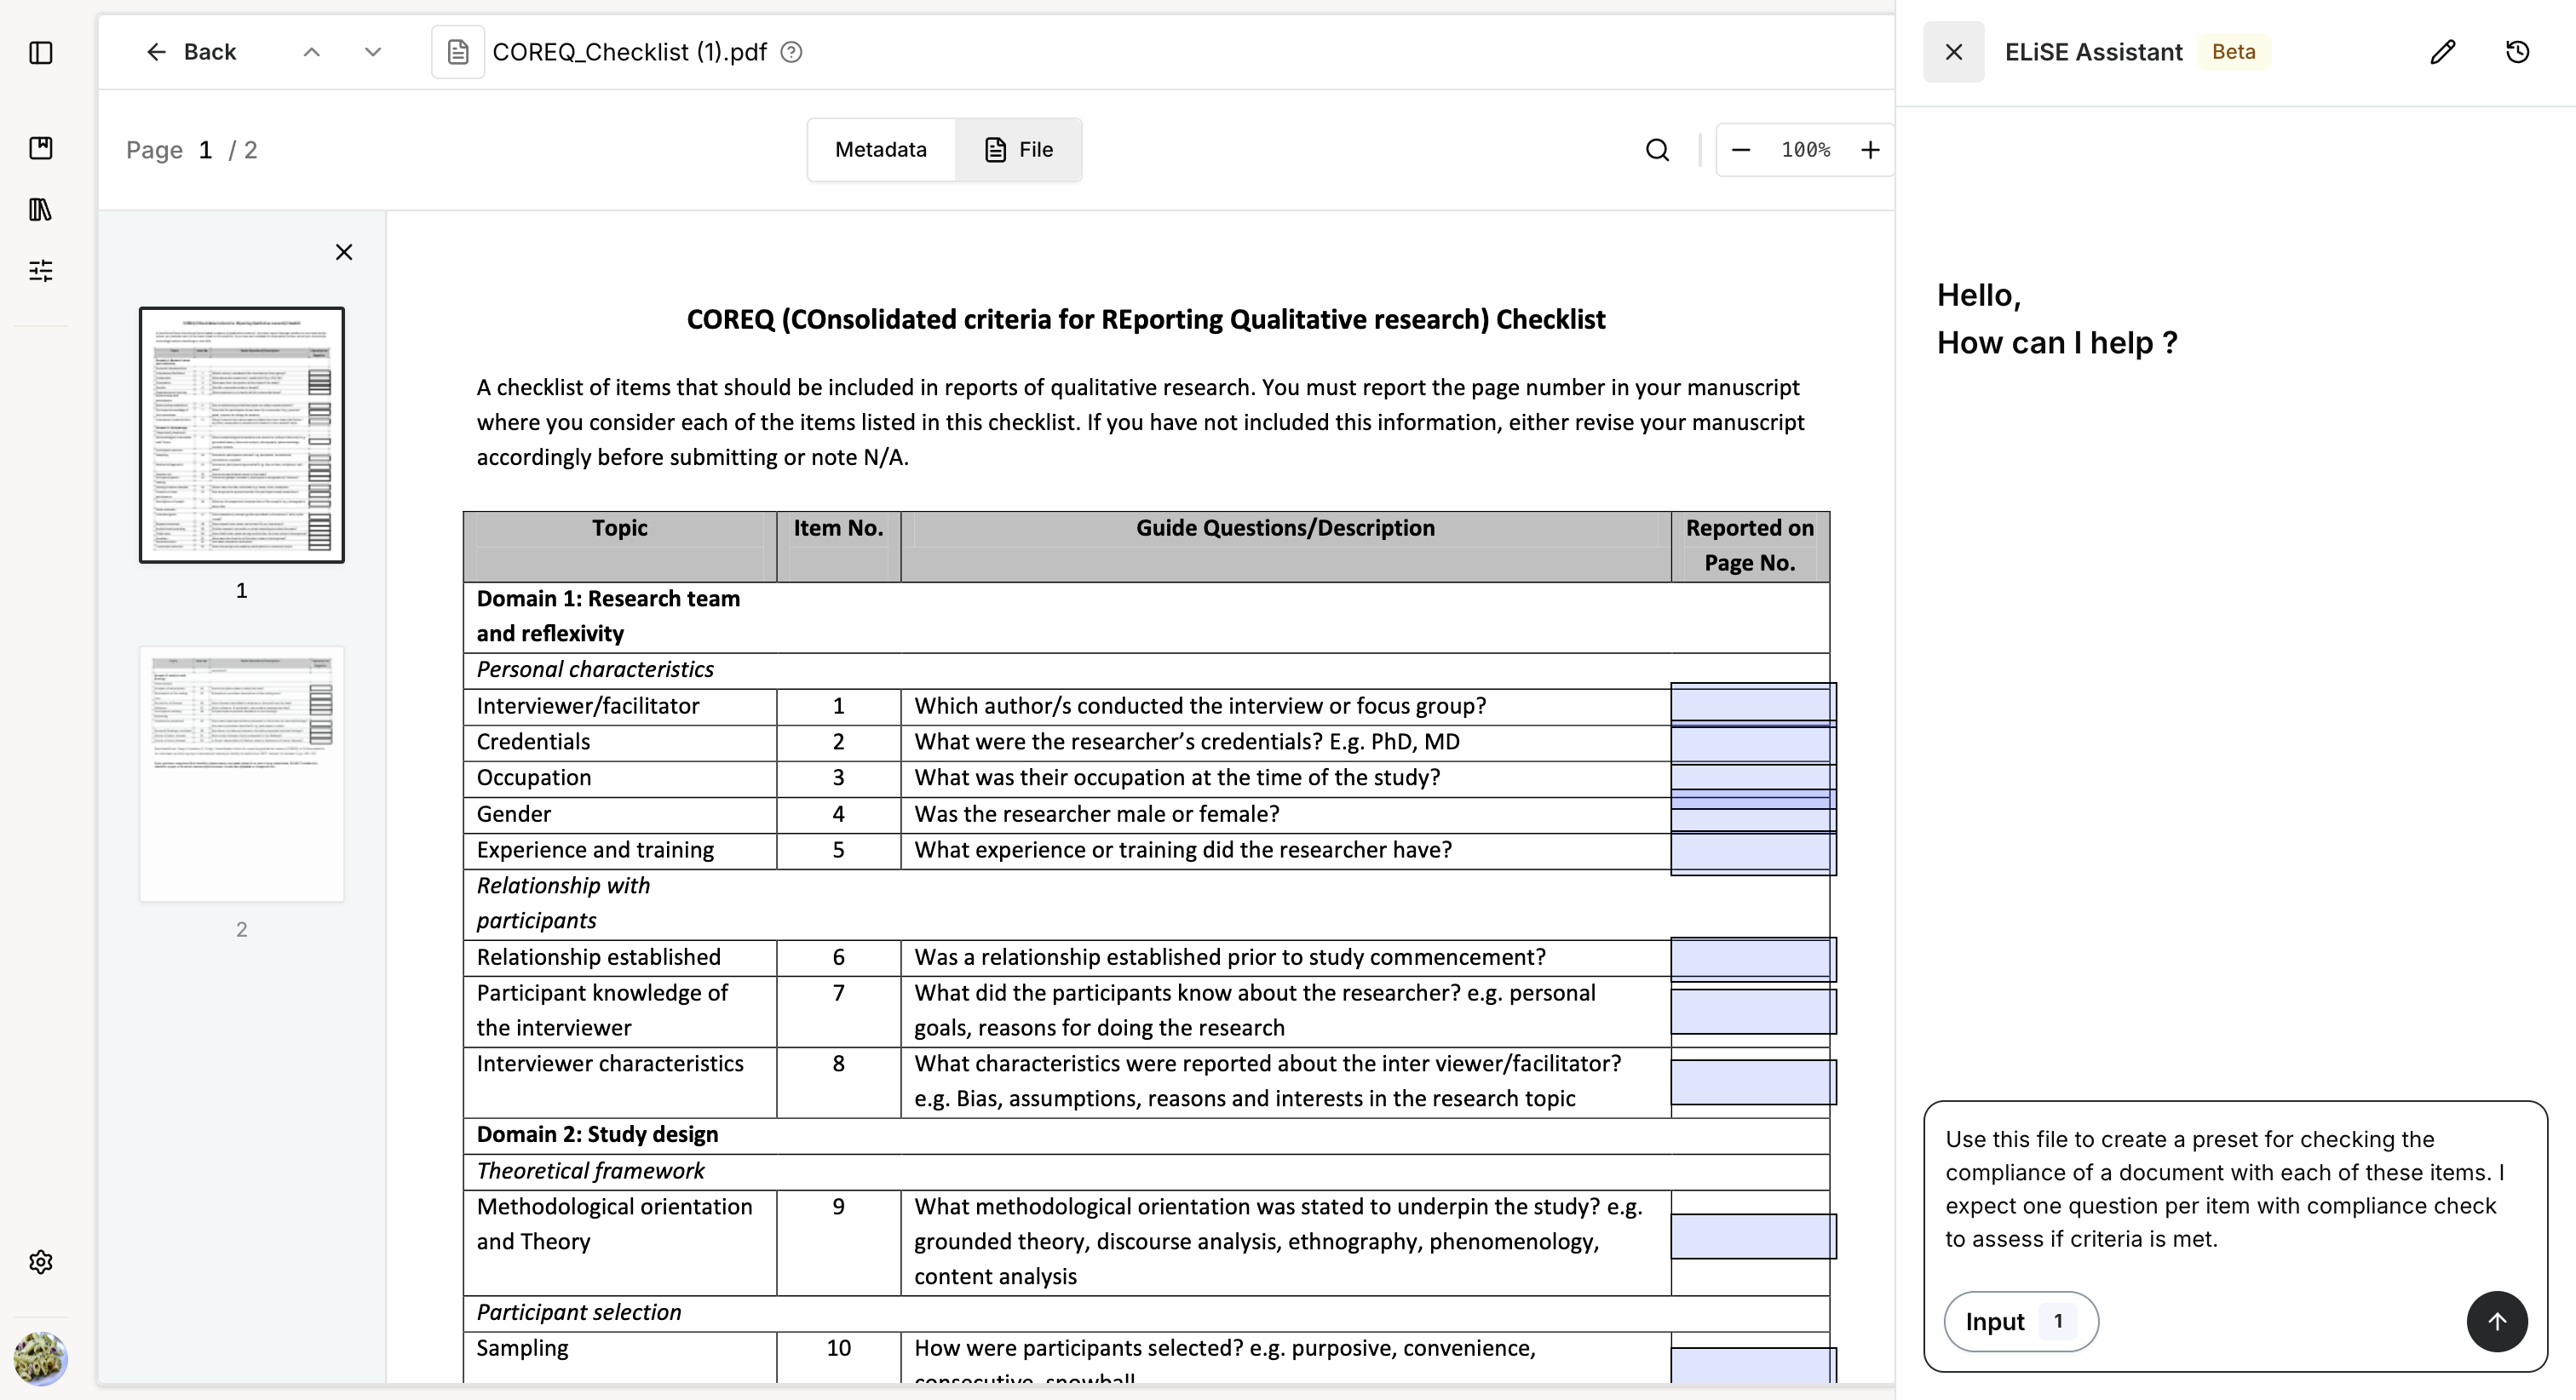
Depending on the complexity of your request and the selected sources, generation may take a few seconds.
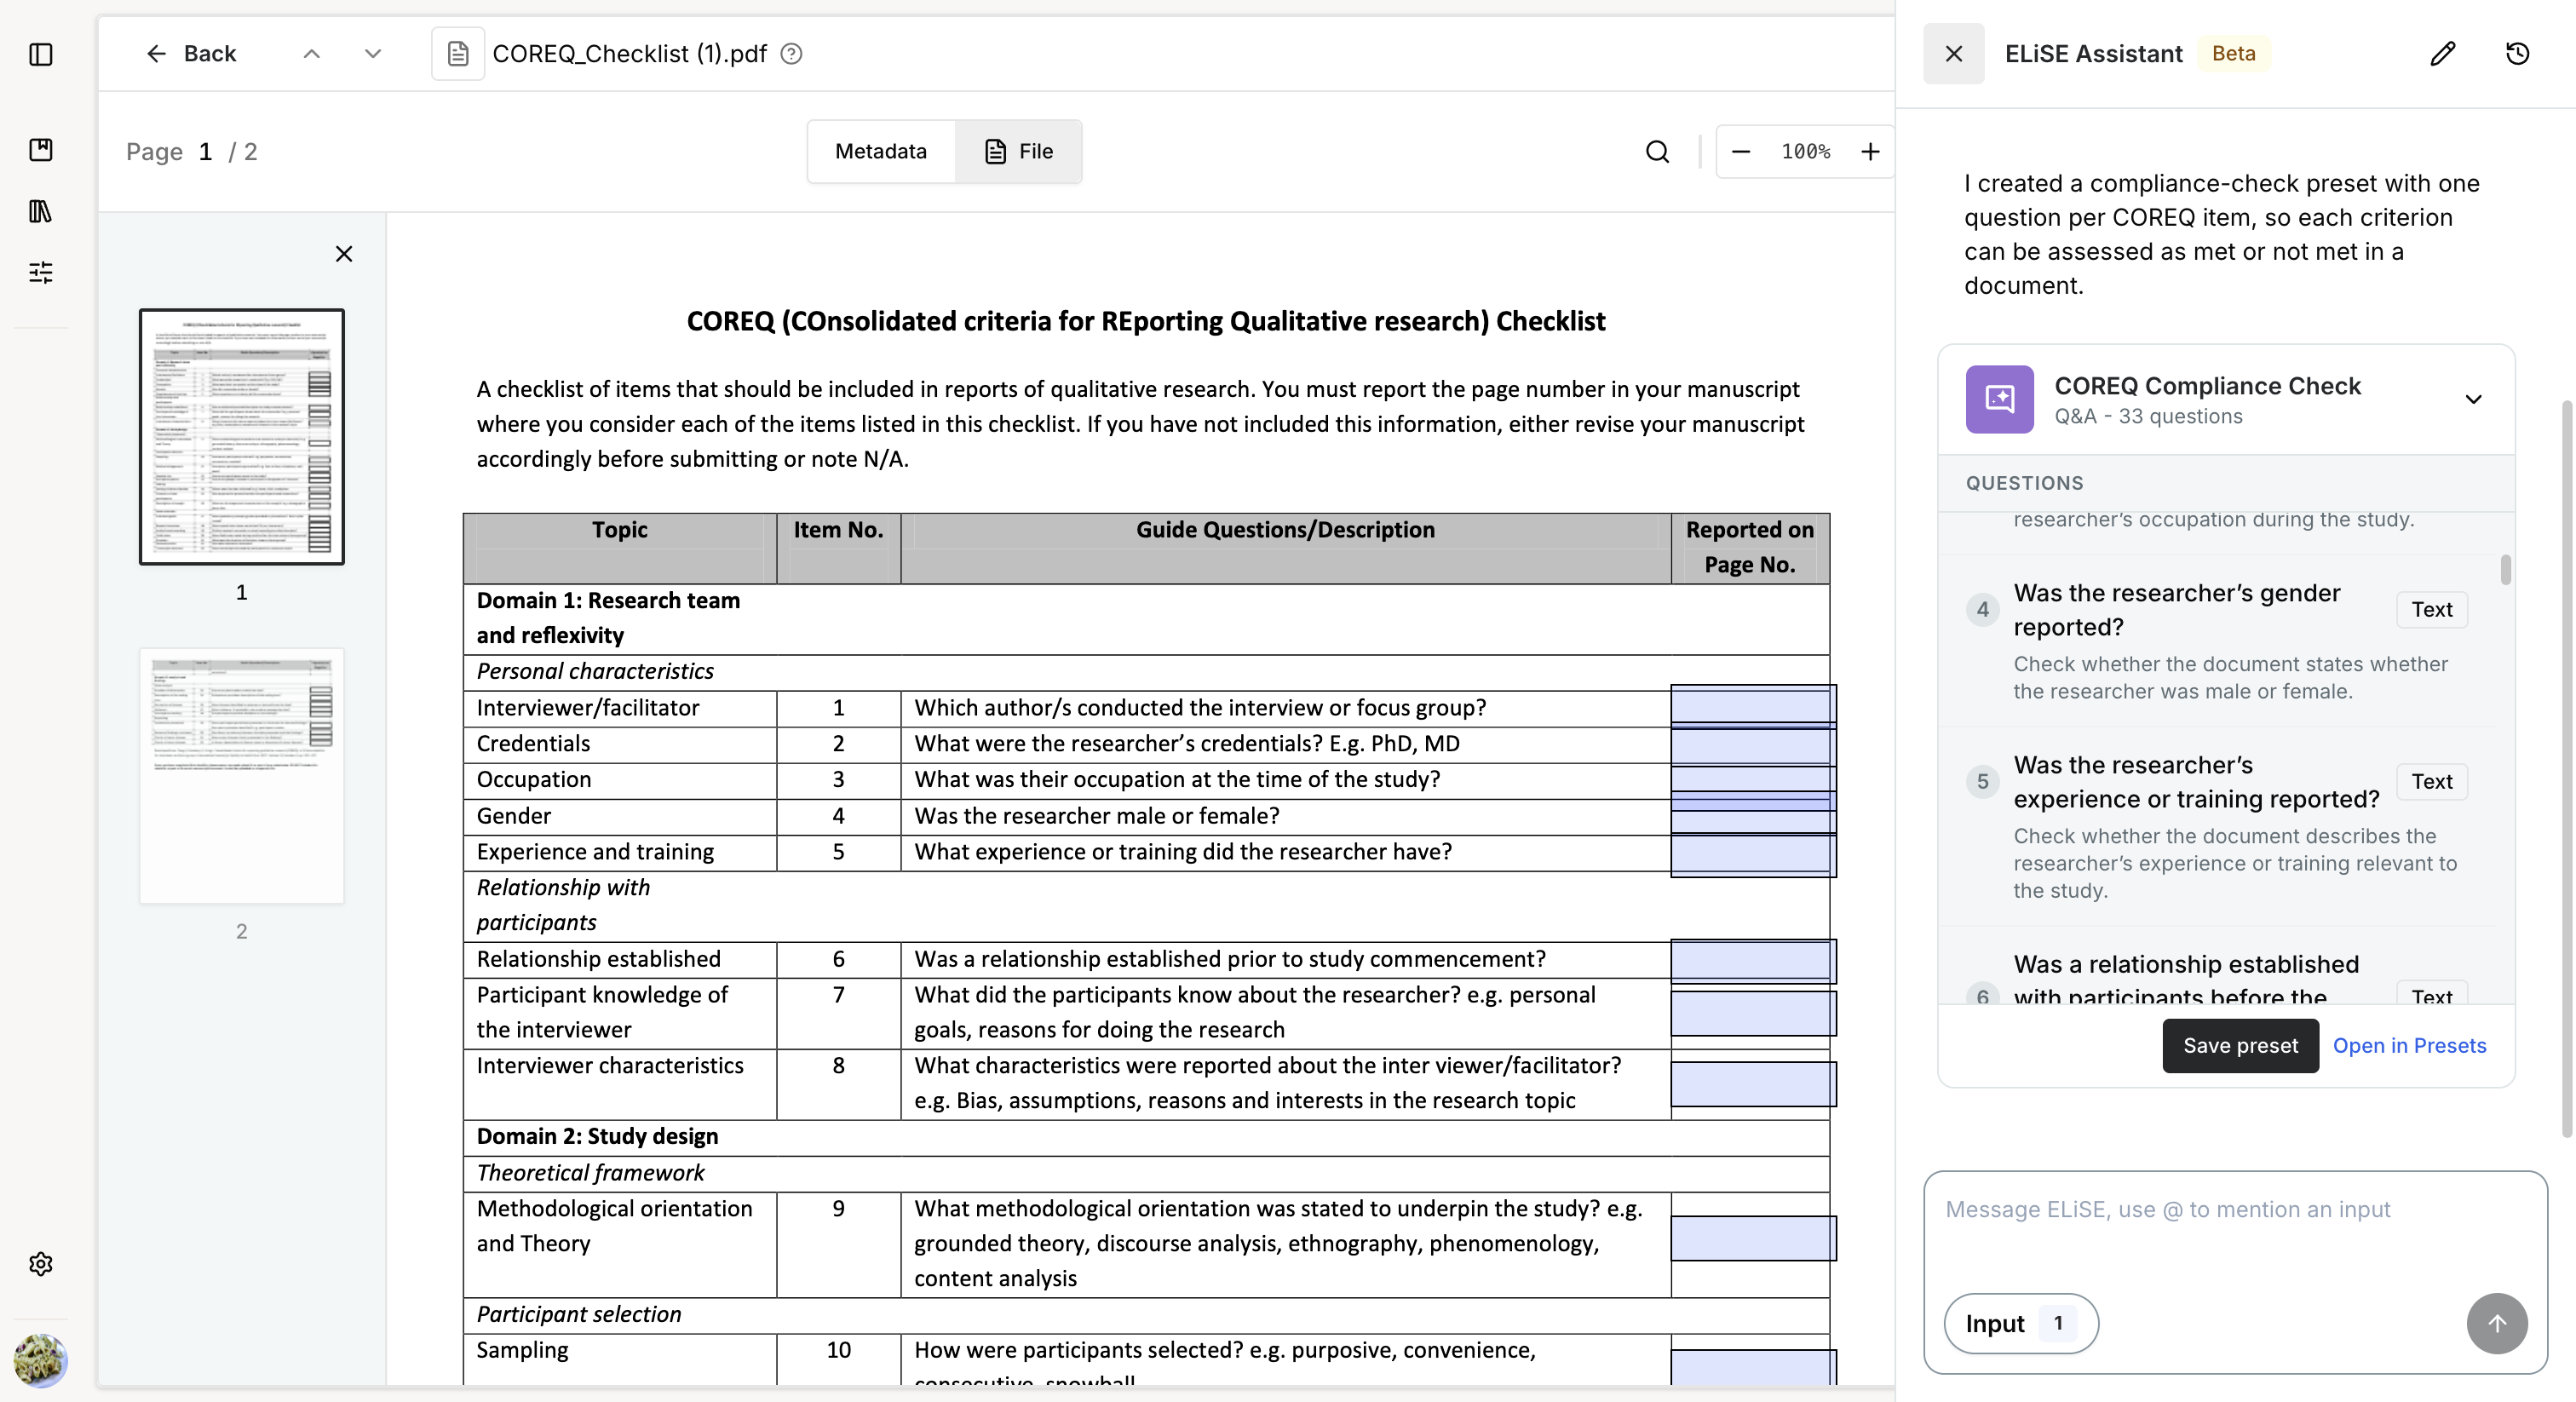
When the preset is ready, the assistant displays a preview.
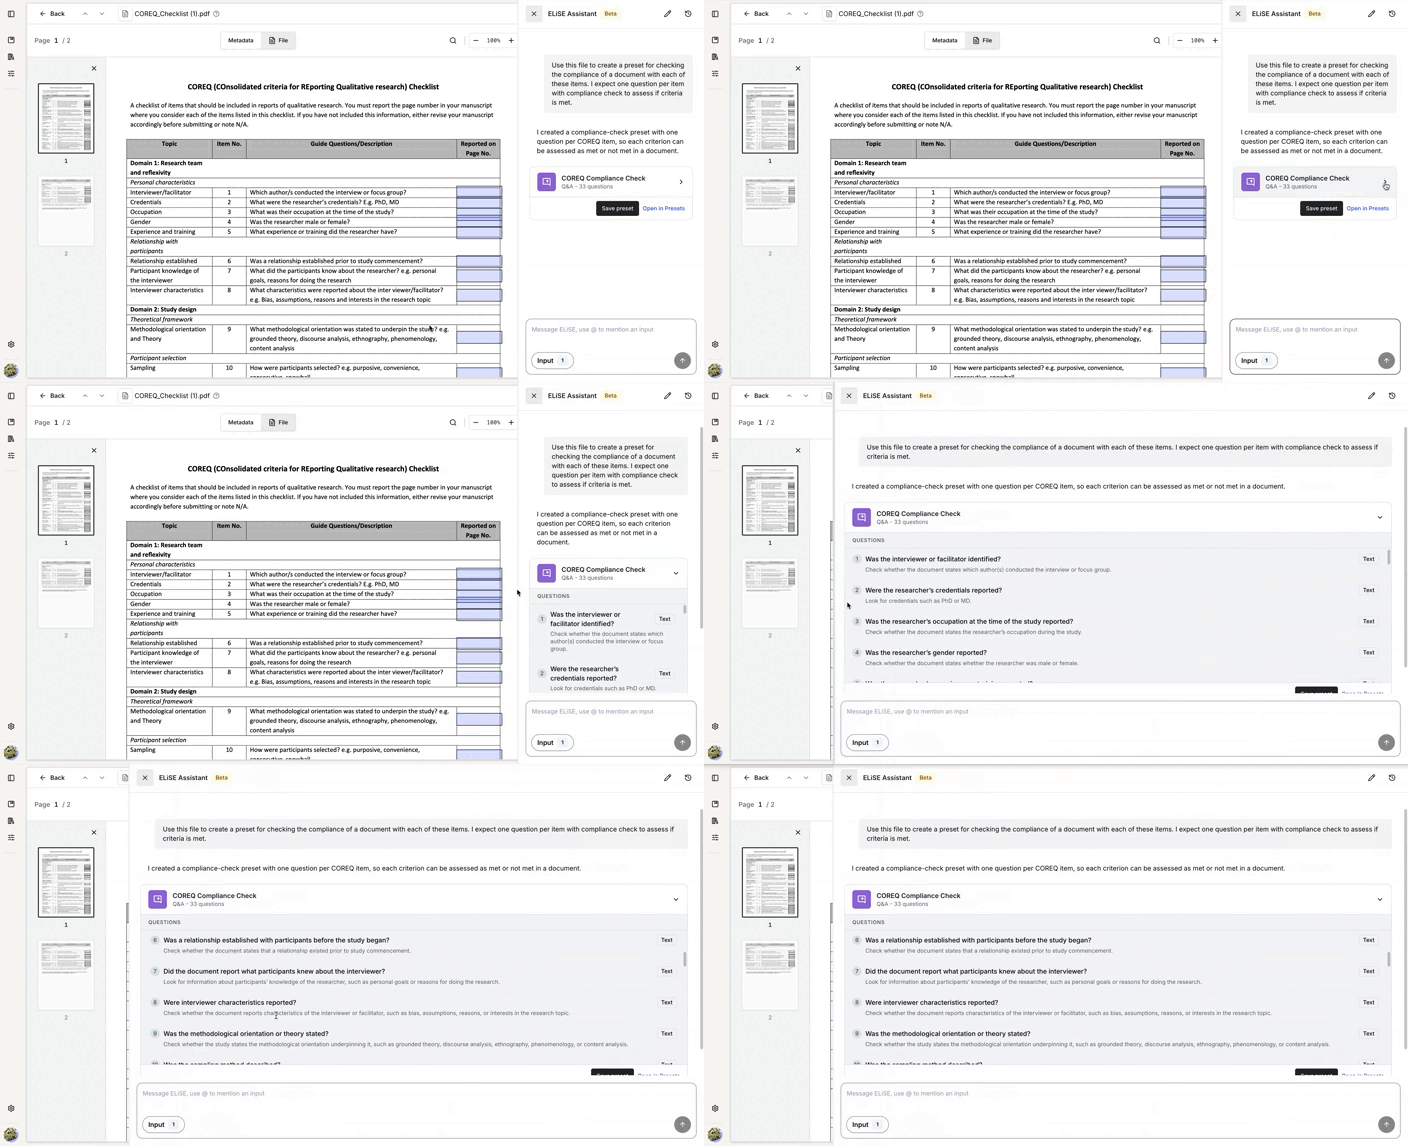
Review the preview and choose one of the following actions:
- "Save preset" to create the preset. You can edit it later if needed.
- "Open in Presets" to review and modify the configuration in the application before saving.
If you do not save the preview, it remains only in the assistant conversation and cannot be used elsewhere in the platform.
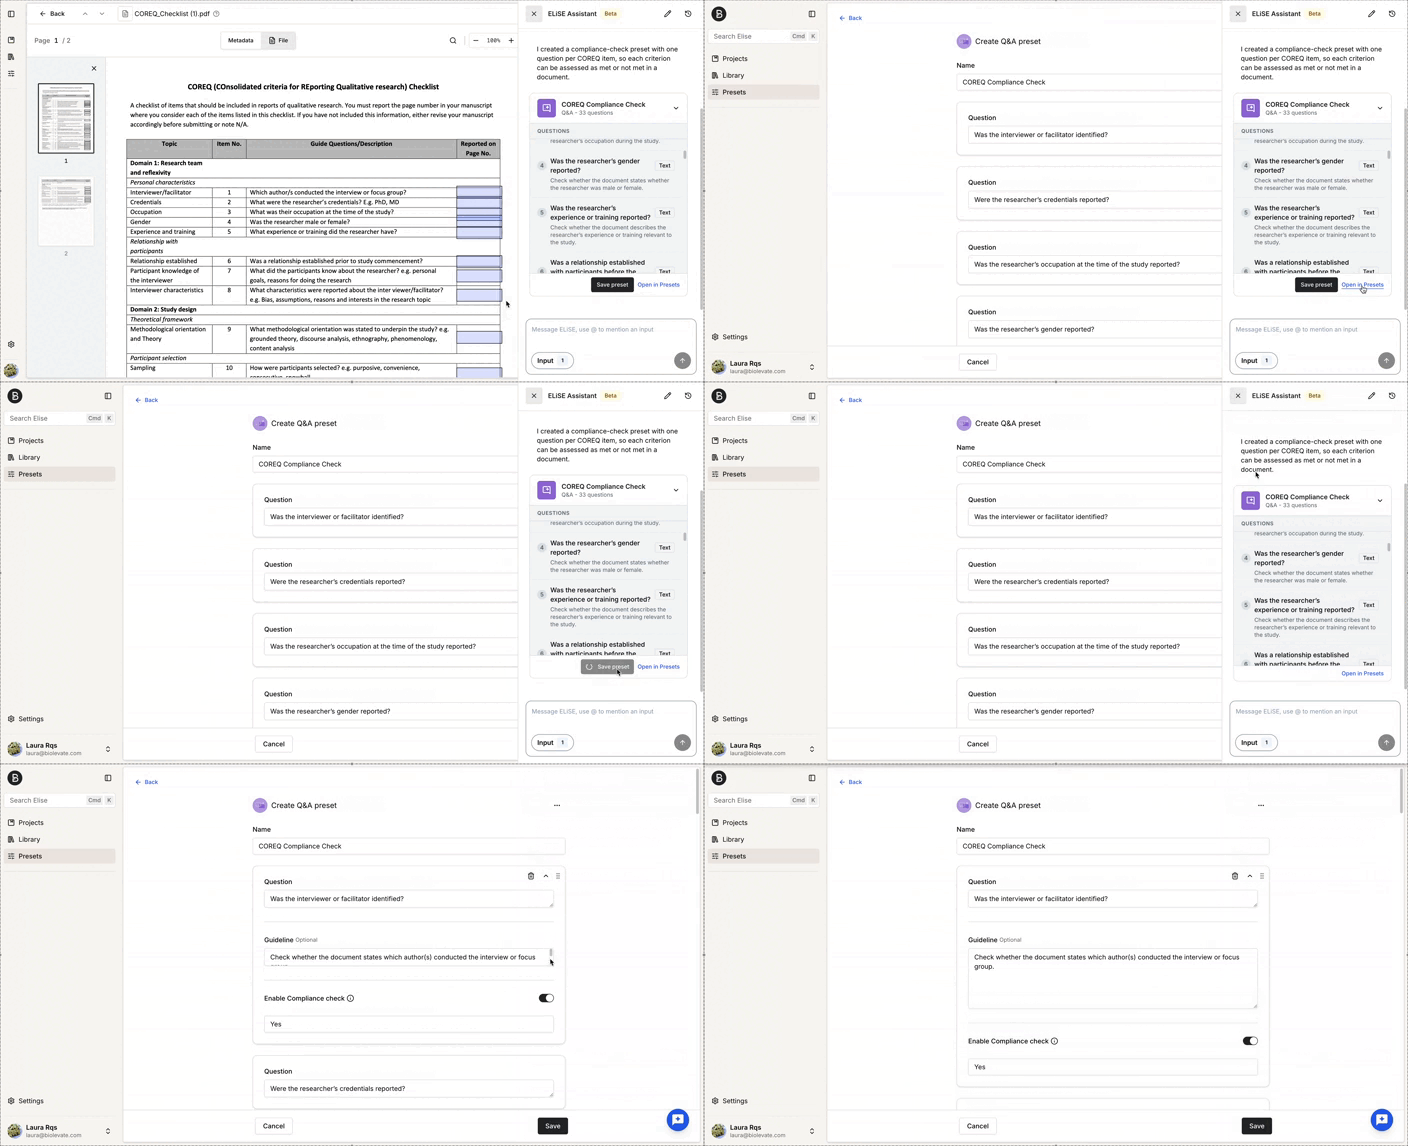
If the generated preview does not meet your requirements, click Open in Presets to open the configuration in the application.
From there, you can review, modify, and save the preset manually.
Edit a preset
After creating a preset with the assistant, you can continue refining it within the same conversation.
Describe the changes you want, then review the updated preview.
As with the initial creation, you can:
- Save the new version.
- Open it in Presets for manual editing.
This iterative workflow is available only if the preset has not been edited manually.
If the preset has already been modified in the application, any new version generated by the assistant is based on the conversation history rather than the manually edited version. Saving it will replace the current preset.
This behavior is expected to change in a future release.
Was this article helpful?
That’s Great!
Thank you for your feedback
Sorry! We couldn't be helpful
Thank you for your feedback
Feedback sent
We appreciate your effort and will try to fix the article